Building First Guitar – From Block to Blank
This is the second piece in my first guitar build – the first being here.
So I am building my very first guitar and documenting the process as I go. I have a block of wood, with the outline for a cutout chalked onto it, ready to cut out.
Tools
- Irwin Hand Saw
- Simple Amazon rasp
- Supercraft Coping Saw
- Ozito Plunge Router (2nd Hand)
The Build
So I need to get the block cut out pretty well to then be able to bring the blank to shape. The first issue is the lack of a power saw of any kind, so I have to hand rough it out. This doesn’t actually create too many issues when cutting out the bulk of the wood. It does however start to cause an issue when we get to the curves.
The issue is that there is still too much wood to remove with the rasp and so I am left with making many cuts towards the body so that I can then chisel the waste off or use the Coping Saw. The main issue here is tearouts, something which Blackbutt has a tendency to do…hooray. Not too many of those though, and I think I have enough bulk to work with to hide any mistakes.
This part is just hard work, nothing too complicated. It is also incredible how short work a sharp coping saw can make around those curves.
Now thickness and weight (over 5kg) is an issue and I (surprise) don’t have a thicknesser or access to one. There is a community workshop, but it’s only open 3 workdays 9-12, conveniently. So I have to work out another option. A router with a sled seems to be the best option for working away a little bit of the thicc. But then I have an awesome idea, I don’t really need a sled as it will just be roughing out, essentially I can just use it as though I am cutting a big (guitar size) route out of it, tidy up any extra with a chisel or a plane and then sand. Golden..
Did I mention how hard Blackbutt is? Or consider how unpredictable a router can be? Or think of why other people don’t do it this way? I think you know the answers to this.
It started out OK, but it ran into some issues. You see, if you are new to plunge routers, the base needs a flat platform on which to perform. The more wood that you remove in the ‘just-cut-a-big-route’ technique will mean that you start to deal with less and less flat original space. I did realise this and tried to adapt, however…I have been left with a penis pattern in the wood that says ‘This idiot thought he knew better than the wisdom of others more experienced’ – I am actually inclined to leave the pattern there as a reminder of my hubris.
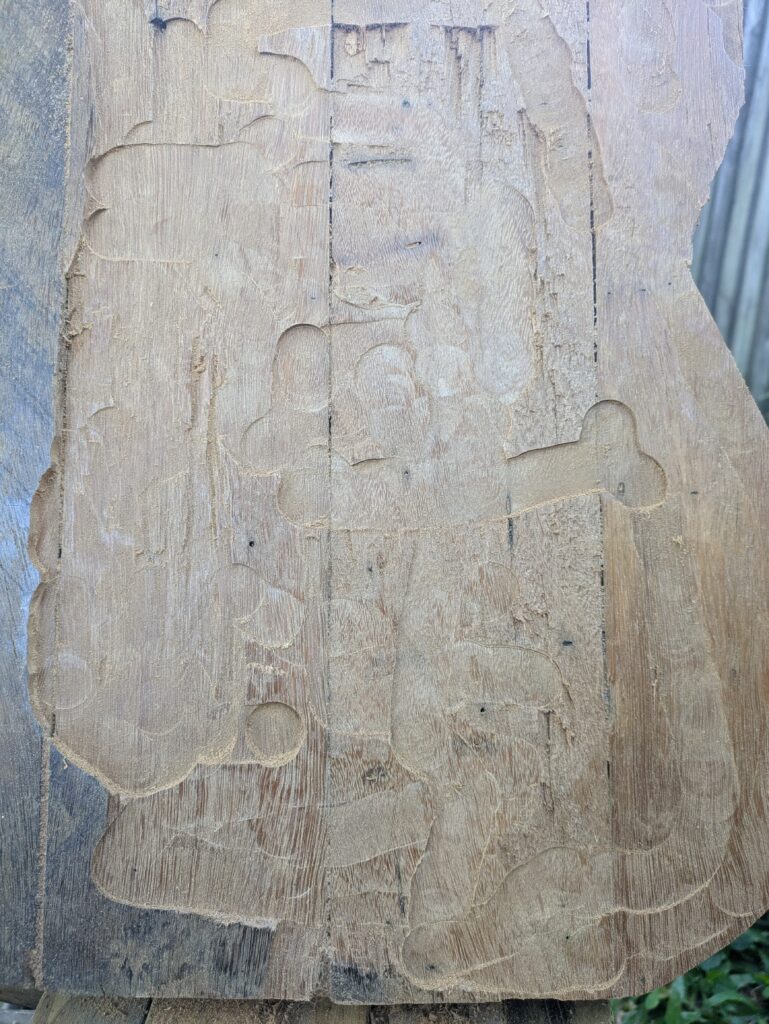
And Blackbutt is hard, so using the Size 4 plane is probably not the best idea, nor is sandpaper. I will be making a sled to level the blank back as close as possible. At this stage all the issue is on the back of the piece, so worst case…I just leave it..
After that is sanding and filling gaps, most probably with sawdust and PVA. I am intending on a solid colour, so some blemishes should be fine.
What I learned
- If I am going to rough out with a hand saw, I would have been better to get it closer to it’s final shape. Leaving that extra space in the outline has caused some issues.
- A router sled would have been an option in a pinch. Seeking out a woodshop to use their thicknesser would have been ideal.
- Best case would have been to weigh the wood, work out approx how much would be needed and then determine if that would be an appropriate Tele body weight. If not, rip the height before gluing it all together.
- I probably reeeeeally need a bandsaw.
What I’ll Need
- Router which I have picked up second hand already as well as bits. It may have been tooo cheap…
Next Steps
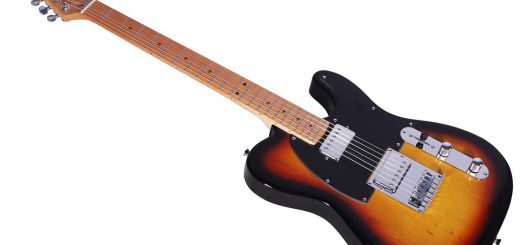
Next is a good tidy up of the blank in general and then routing the outside to get some clean lines that match up to the template and will be then ready to routing out the neck pocket, pickup and control cavities.
I may also chamfer or rollover the edges of the guitar, but I am taking it one step at a time….


Recent Comments